Make sure your display actually supports HDR before installing RenoDX. Your monitor should be rated for HDR400 or higher, meaning it should have at least 400 nits peak brightness. If you’re unsure whether your display actually supports HDR, a good resource is https://www.rtings.com which has reviews for a wide range of displays and will include a list of detailed technical specifications for anything they cover.
Grab the WIP version of the RenoDX mod from the RenoDX server. Look for the pinned post in the Cyberpunk channel. The GitHub and Nexus versions are both outdated; disregard the snapshot date on the GitHub page, it’s not accurate.
This is still valid as of January 25th, 2026.
RenoDX server invite: https://discord.gg/jz6ujVpgFB
Direct link to the RenoDX Cyberpunk channel: https://discord.com/channels/1408098019194310818/1410855640112566375/threads/1434377434022809610/1434377434022809610
This guide is focused mainly on providing the recommended tools and settings to get Cyberpunk’s HDR in the correct place.
It would be impossible to cover every combination of LUT and visual mods that are available for the game. Manual adjustment of the various RenoDX sliders will most likely to be necessary to achieve the best possible result.
What is Wrong with Cyberpunk’s HDR?
This is the answer provided directly from ShortFuse, the creator of RenoDX:
- SDR uses LUTs that clip, they don't properly roll off. But they're all baked with ACES. So they're graded, with ACES per channel coloring, and their color tuning.
- For HDR, they took the SDR LUT, and as they were stretched them to 1900 nits. If the SDR LUT went to 100 nits, then it stretched them to 1900. If the SDR LUTs went to 325 nits (clipping over 100 nits), they were also stretched to 1900 nits. So they have inconsistent stretching.
- Then, after taking their ACES-baked SDR LUTs stretched to 1900 nits, they apply their custom ACES HDR to apply a second round of ACES to try to tonemap it down to user selected peak. Except they didn't.
- First of all, a LUT that only goes to 1900 nits would never hit peak, because that's not how you're supposed to use ACES. It's supposed to be the render. They're supposed to do Render => ACES-HDR. They did Render => ACESSDR-LUT-Stretched-to-1900-nits => CustomStretchedACESHDR.
- And they still overshot user peak by about 10%. And their custom ACES would scale and stretch based on what you put. The more peak nits your put, the more it did per channel stretching, meaning overcoloring things.
- It's basically nonsense and had no metric of sanity. The original RenoDX fix I did was to at least fix the stretching from their custom ACES HDR. I redid the CP2077 mod, and the one that's in the Discord targets the SDR look, fully knowing their HDR LUT is just cooked, ITM ACES-SDR.
How to Fix Cyberpunk’s HDR using RenoDX
1) Download the latest addon version of ReShade from https://reshade.me/#download
2) Install ReShade to the \bin\x64 folder (which the installer should default to once you pick Cyberpunk 2077)
-
Note about mod managers: I do not recommend installing ReShade as a mod within Vortex or MO2 (Mod Organizer 2) unless you know what you’re doing. Same applies to using Special K with ReShade. This guide will cover a normal ReShade install.
-
For more detailed instructions on how to install ReShade with RenoDX, please refer to this guide: How to Install ReShade for RenoDX
3) Grab the WIP (Work in progress) version of RenoDX from the RenoDX Discord server. Look for the pinned comment in the Cyberpunk channel.

Click for more RenoDX Info
- The GitHub and Nexus Mods versions of Cyberpunk's RenoDX are outdated as mentioned in the bubble at the top of this guide. The WIP verison fixes the contrast issue that is present in the other two versions.
- RenoDX server invite: https://discord.gg/jz6ujVpgFB
- Direct link to the RenoDX Cyberpunk channel: Cyberpunk 2077 Thread
- Note that the WIP version only applies to Cyberpunk 2077. For all other games it's best to use the GitHub version (marked as a Snapshot button)
4) Place the RenoDX addon in the \bin\x64 folder next to the ReShade install.
5) Start the game. Open the Settings menu.
6) Go to Video > HDR settings. Make sure Cyberpunk’s HDR is turned ON (set to HDR10 PQ)
-
Maximum Brightness: Leave at the default value. You’ll change this in the RenoDX addon under Peak Brightness.
-
Paper White: 200. You’ll change this in the RenoDX addon as the Game Brightness.
-
Set Tone-Mapping Midpoint to 1. Tone-Mapping Midpoint is critical for the overall brightness of the game. If the game is too bright then doublecheck this setting.
-
Make sure HDR10 PQ saturation is 0!!! This will cause issues with Frame Generation if changed. Just use the Saturation slider within RenoDX instead.
HDR10 PQ Saturation absolutely, 100% without a doubt, needs to be 0!
DO NOT CHANGE THIS SETTING!!!
Non zero values will cause issues with frame generation when moving. If you want to increase the game saturation, use the saturation slider within RenoDX.
HDR settings

7) Within Cyberpunk’s Graphics settings, make sure Color Precision is set to High or it will result in a washed out / gray image.
Color precision setting

8) Open the ReShade interface, default button is the Home key.
- If you don’t have a Home key please refer to this guide that goes over how to change it to a different key: https://www.youtube.com/watch?v=xoCdpOIRKus
9) Click on the RenoDX tab along the top of the ReShade GUI. Set the Peak Brightness to match your display’s capabilities.
-
If you don’t know what that value is, refer to the spec sheet for your display or look it up on https://www.rtings.com/ which has reviews for a wide range of displays that includes detailed spec lists.
-
Technically all the other RenoDX settings are user preference but I’ll go over a few more important ones.
10) Game Brightness is the paper white value. Set this between 150-300 nits (I personally have it set to 200 nits) but this is ultimately user preference and may need to change depending on which LUT you’re using.
11) Set SDR EOTF Emulation to UI/Menu only. If you like how the older version of RenoDX looked, slide this to the right so it applies to everything.
12) Filmgrain I personally have set to around 20. This is the same filmgrain from ShortFuse’s ReShade shader repository: https://github.com/clshortfuse/reshade-shaders/tree/main/Shaders
- If using other ReShade shaders such as Lilium’s RCAS (which is commonly recommended), then I would set the filmgrain within RenoDX to 0 and then use the ShortFuse’s filmgrain shader and place it at the very end (you never want to sharpen filmgrain, and RCAS is a sharpening shader).
13) Double check to make sure Debug Graph is turned off (found at the very bottom of RenoDX under Debug). Otherwise you’ll see a colored square on the upper right corner behind the minimap.
Debug Graph On

Debug Graph Off

14) Adjust the rest of the sliders however you’d like!
Troubleshooting
Washed out / gray image
- Make sure RTXHDR is turned off globally (or at least for Cyberpunk 2077)
- Verify HDR is turn on in Windows and in Cyberpunk 2077.
- Make sure Color Precision is set to High within the graphics settings. RenoDX will not work with this set to medium.
- Make sure you’re using the latest add-on version of ReShade.
Colored Square Behind Minimap / Upper Right Corner
- This is the debug graph from the WIP RenoDX. Look at the very bottom of the RenoDX settings, under Debug turn off Debug Graph
Debug Graph Off
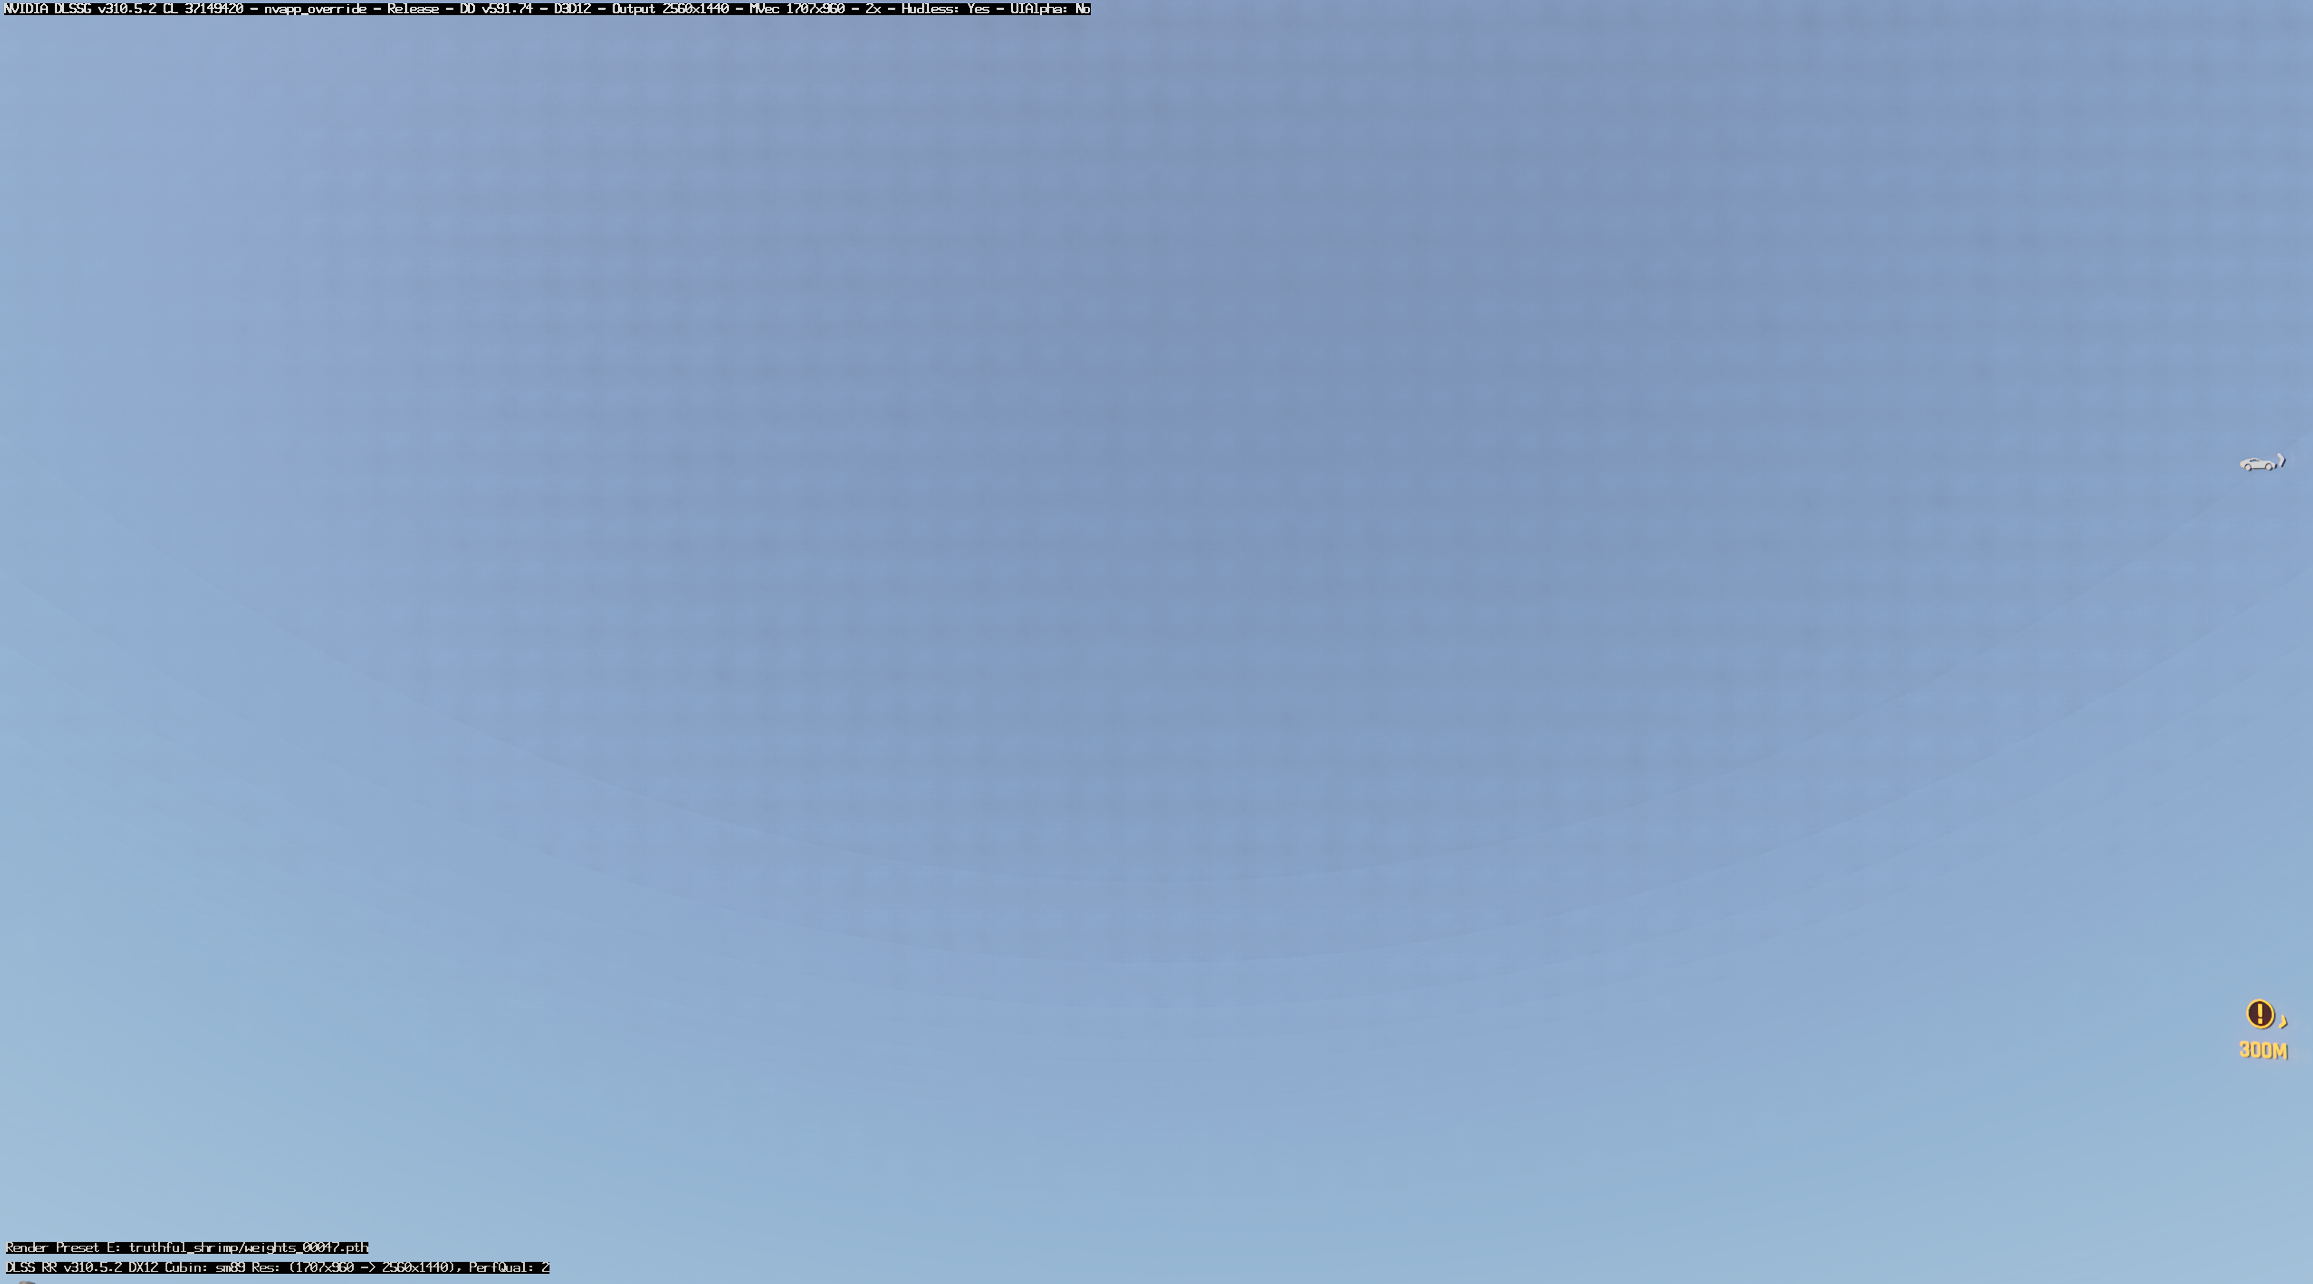
Banding / Grid Pattern in the Sky
- Switch to Ray Reconstruction preset D, which seems to be a little bit better for HDR. Easiest way is to use DLSS Swapper: https://github.com/beeradmoore/dlss-swapper/releases
- Preset E is typically recommended over D because it has less issues with boiling and has less artifacts overall. So don’t switch to D unless you’re having the banding / grid pattern issue.
- When using Ray Reconstruction it overrides the SR model completely, meaning presets K, L, M, etc. won’t get applied when using RR.
Ray Reconstruction Preset D vs E:

- Credit to squarto and Gn3xus for figuring this out and taking these comparison images.
Frame Generation artifacts when moving
Especially in light sources
Make sure HDR10 PQ Saturation is set to 0 in the base game / vanilla HDR settings.
Before and After Changing HDR10 PQ Saturation:
Credit to Invictus for figuring out this issue and supplying the video showing the fix!
How to Provide More Info for Troubleshooting
1) Make sure view file name extensions is enabled within Windows File Viewer. This will allow you to see the commonly used file types such as .ini, .txt, .log, and .exe.
How to view file name extensions in Windows 11:
- 1) Open File Explorer.
- 2) Along the top bar of File Explorer, left click View.
- 3) Hover over Show, then make sure File name extensions is checked.
2) Take screenshots of the issue with ReShade. This will take HDR PNGs that can be uploaded to Discord.
- Please do not take pictures of your monitor/TV with your phone unless we’re troubleshooting an issue with the display itself. Phones are horrible at taking pictures of what is onscreen.
3) Common troubleshooting questions:
- What version of ReShade are you using?
Can be found at the very top of the ReShade About tab:

- Are you using any other ReShade shaders? (checkmarks enabled in the ReShade Home tab)?
- Is HDR turned on within Windows and in Cyberpunk 2077?
- What RenoDX settings are you using? (just take a screenshot to show this)
4) Log file locations: Unless otherwise noted, all file paths are assumed to start within the Cyberpunk 2077 game folder
- ReShade.log -
\bin\x64- By far the most important log for RenoDX issues
====OTHER MOD LOGS====
- Cyberpunk 2077 Crash Dump -
%LocalAppData%\REDEngine\ReportQueuefor the main game crash log - Cyber Engine Tweaks -
\bin\x64\plugins\cyber_engine_tweaks - Redscript -
\r6\logs - Red4Ext -
\red4ext\logsand\red4ext\pluginsfor specific mod logs - Ultra Plus -
\bin\x64\plugins\cyber_engine_tweaks\mods\UltraPlus
Highly recommend that you use RenoDX alongside the Ultra Plus mod! Provides some performance tweaks and also adds new visual modes for both lower end and higher end hardware configurations.
Link to Ultra Plus mod page: https://www.nexusmods.com/cyberpunk2077/mods/10490